Export videos
This module allows the user to generate new videos with the annotations and the object’s paths or contours directly drawn on the video.
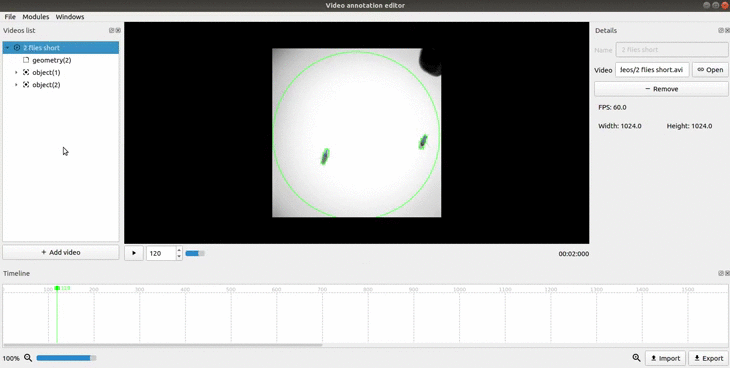
How to use
Note
You can preview the generated video by clicking the video you selected and then clicking on the ‘Play’ button under the video player
Path
In this tab, the user should select the video over which the annotations and/or the paths will be drawn.
By checking the “Draw paths” checkbox, all the selected paths and contours will be drawn in the generated video.
Using the blue slider or the left and right textboxes, the user can also select a start and an end time for the video. The video will then only be generated for the interval between the start and end time.
Note
To change the start and end frame you also have to click on the name of the video, not just the checkbox
Circle
To use this tab, you must have selected a dataset(path or contour) in the PATH tab.
If a contour was selected in the previous tab, a circle will be drawn in the position of the object for the corresponding frame using the contour’s area.
In case you select the checkbox “Use a fixed size”, which is mandatory if the selected dataset is a path, a circle with a fixed size will be drawn every frame over the object’s position. Use the slider to change the size of the circle.
Circle color
If any dataset is selected, the drawn circle will use the color of this dataset for each frame. If instead the checkbox “Use a fixed color” is selected, the drawn circle will use the chosen color. To change the color, simply change the numbers, beware it is in the BGR format (0-255).
Background
If any image is selected, the video will be generated with the image in the background instead of the frames of the video.
Draw events
Select the events to be drawn in the exported video. If the “Draw titles” checkbox is select, the titles of the events will be also drawn.
Split files by events
Example