How to
Project
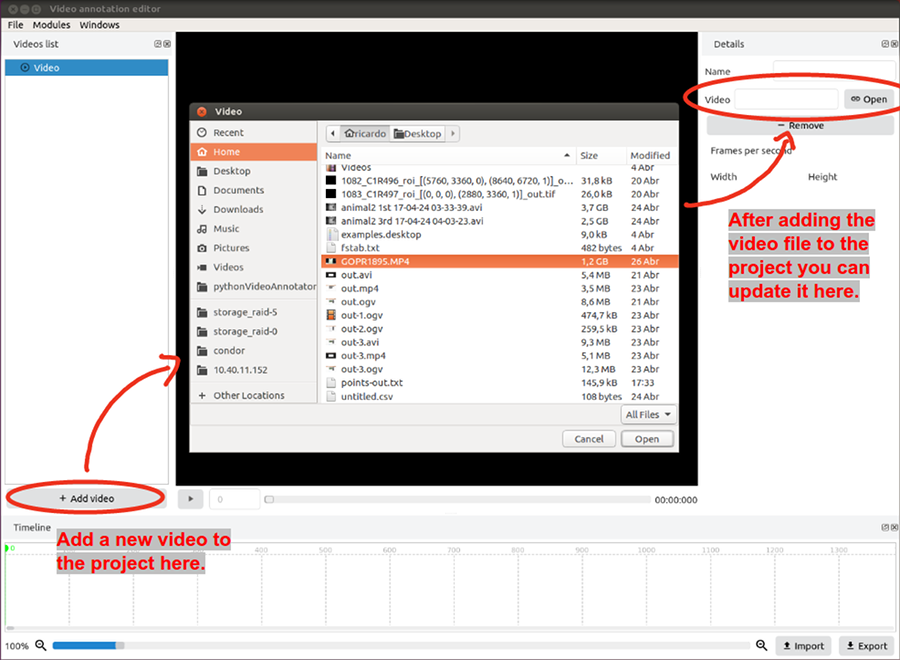
By default the application opens with an empty project so you can start adding videos immediately.
Open a project
To open a existing project select the option “Open” in the “File” menu of the main window. A new window will appear asking for the project folder. You should select the folder and press open.
See also
Find information about the project folders structure in the Project tree section.
Save a project
It is possible to save a project by using the options “Save” or “Save as” in the “File” menu of the main window.
Save
Update the current project files with the last changes.
Note
If you are saving the project for the first time, this option will behave like the “Save as” option.
Save as
Save or export the current project into a folder.
Note
The user should choose an empty directory to avoid mixing the project files with pre existing files and directories.
Video
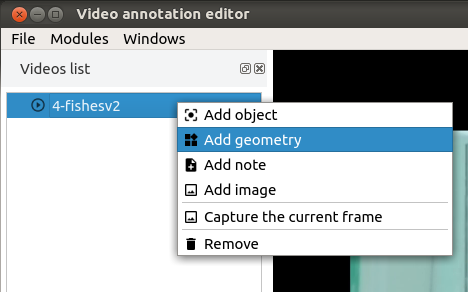
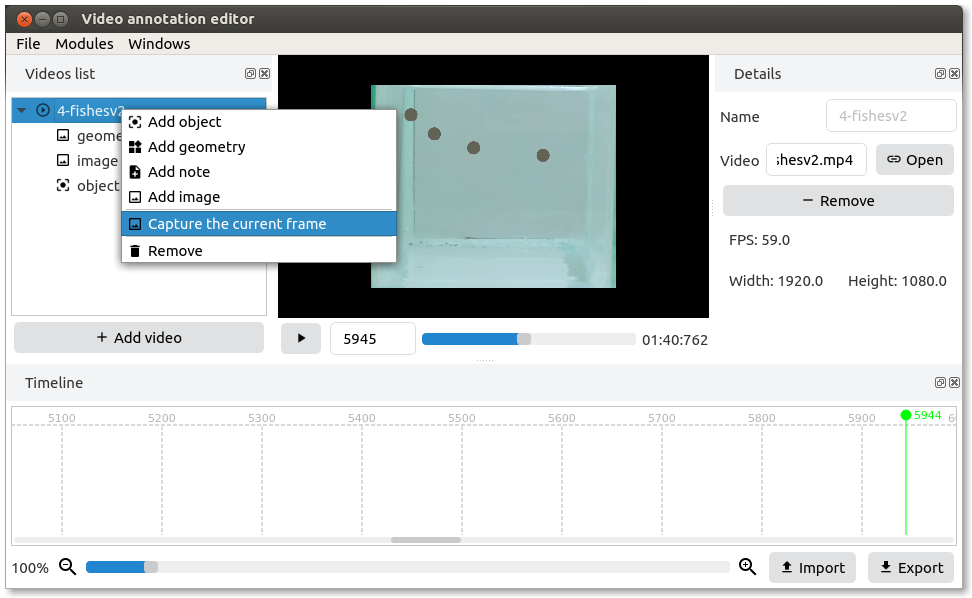
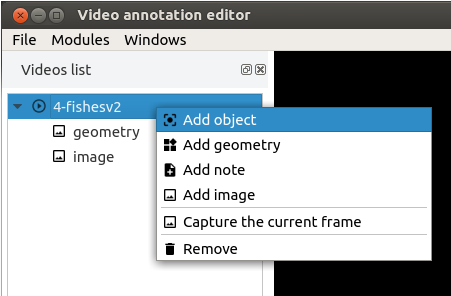
You can right click a video to be able to add objects, geomtries, notes and images to it. You can also capture the current frame or remove the video.
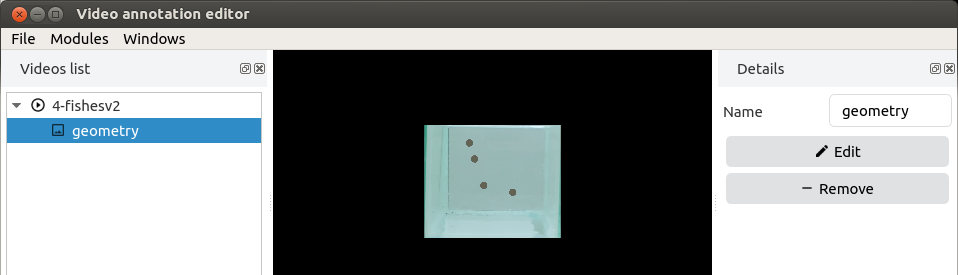
Add & edit a geometry
A geometry is used to define a region or a static object in the video. The geometries created will be displayed on top of the video. To edit a geometry, simply click on the “Edit” button on the right side of the window.
Drawing geometries
To draw a geometry, you should first select the type of geometry you would like to draw (Square or Cicle). Then, simply drag the mouse over the video to draw the polygon. You can zoom in and out using the mouse wheel.
The polygon points can be moved, by dragging and dropping the selected point, or deleted by pressing the delete key on the keyboard. Once you’re done, press “Apply” to confirm your changes.
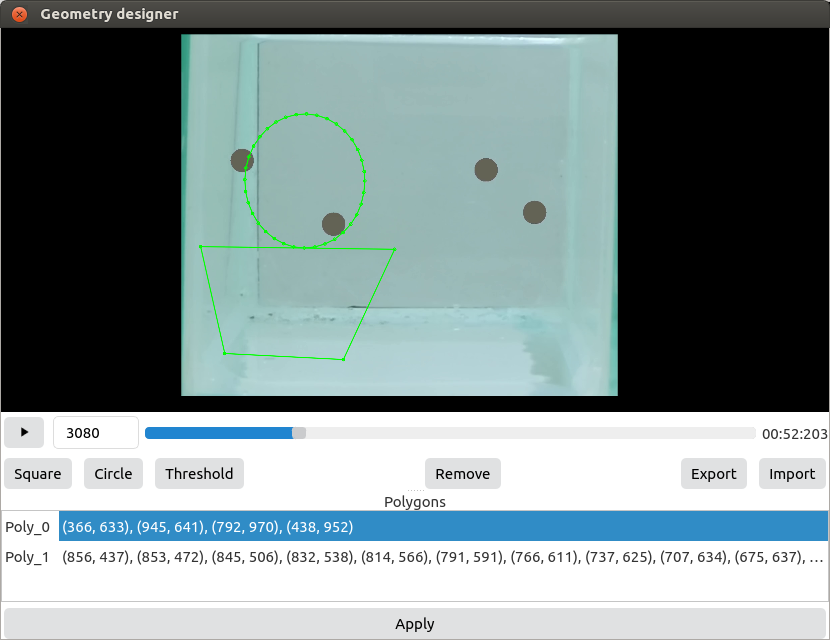
Example: Drawing a circle
Add an object
An object is something in the video whose properties change over time.
Add a dataset
A dataset is an object’s property that changes over time. There are 3 types of properties that you can add: Paths, Countours or Values.
See also
Find more information about the datasets in the Objects’ datasets section.
To add a dataset right click over the object and select one of the available options.

Path
A path dataset stores information about an object’s path.
Contours
A contours dataset stores information about the object’ contour over time, but it also has information about the object’s path.
Value
This property stores any arbitrary number that can change over time. It can be used to store external data like for example hardware triggers.
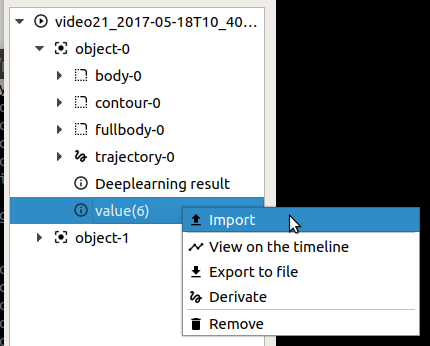
Import data from a CSV file
Right click over the value object in the project tree, and select the option import.
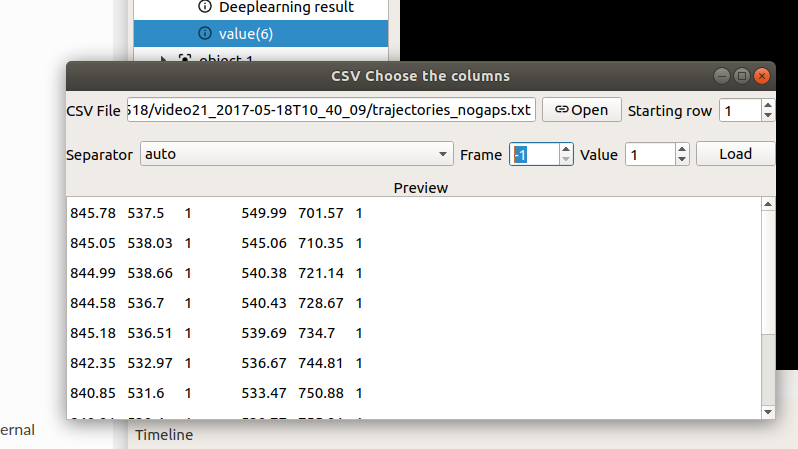
Choose the file, remove the file header (if it exists) using the starting row field and select the separator character. You will see a preview of the parsing of the file to import.
Then select the column corresponding to the number of the frame and to the value you would like to import. If the field Frame has the value -1 then it will be considered that the row number N corresponds to the N frame.
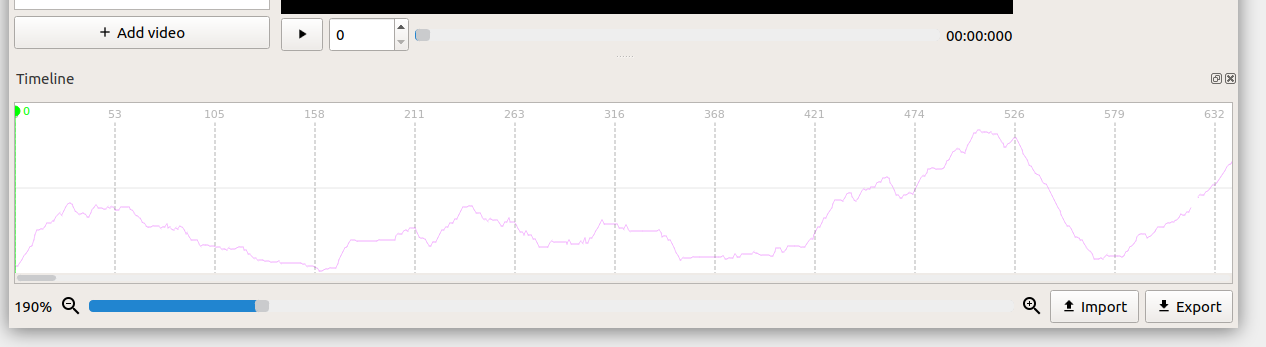
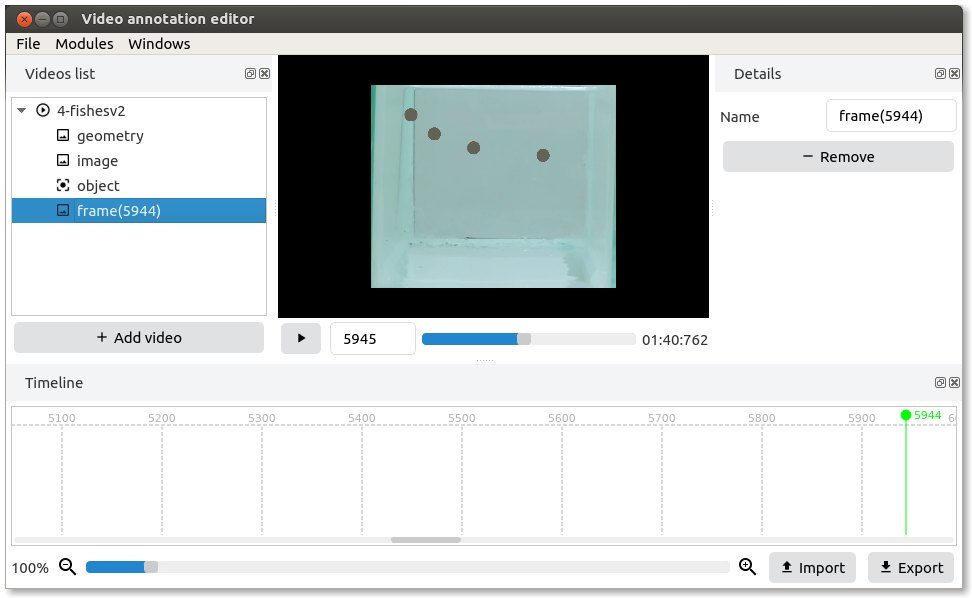
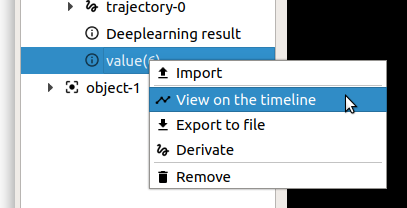
Display the value in the timeline
Right click “value” and select the option view on the timeline.
Result: